Question: How do I connect and control the ATND1061 Beamforming Ceiling Array Microphone?
Answer: In previous articles, we explored what is included with, how to wire, and how to mount (flush, surface and VESA) the ATND1061 Beamforming Ceiling Array Microphone. Now, we will look at connecting and controlling the ATND1061 with your system. The ATND1061 requires PoE (power over Ethernet), which may be provided by a compatible network switch, router, or PoE injector. Connecting to an active data network allows the microphone to power, control and send audio to other networked audio receivers, such as an audio mixer or DSP (digital signal processor). 
The Audio-Technica Digital Microphone Manager software may be downloaded from the ATND1061 product page and run on a Windows-based computer. This will allow for the microphone to be discovered on the network and set up. Note, the software may be run without being connected to the microphone and other hardware to allow the integrator to design and make setting adjustments, store those settings on the PC, and then push the settings to the ATND1061 hardware at a later date.

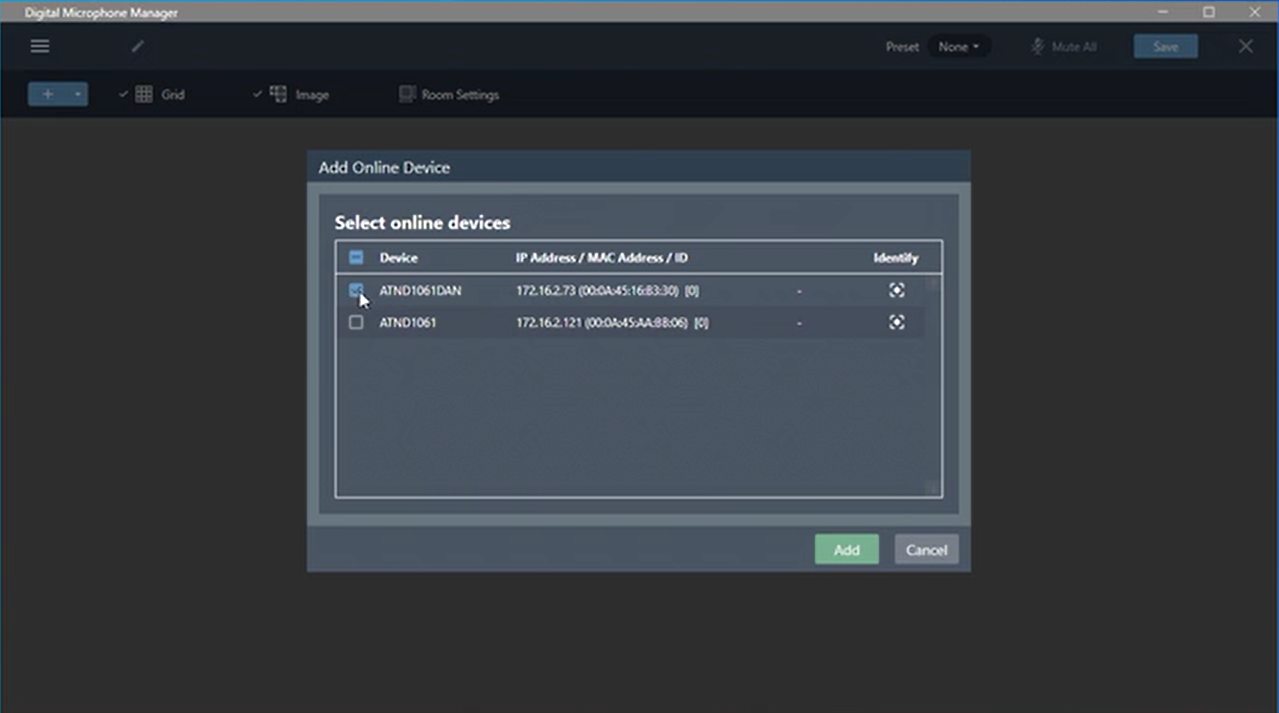
Open the software and select “Connect Online Device.” By default, the ATND1061 is set to look for a network DHCP service to obtain an IP address. If no DHCP server is present, the microphone will self-assign a link-local IP address using the industry standard Automatic Private Internet Protocol Addressing, typically starting at 169.254. Once the microphone is connected to the same subnet as the PC, the microphone’s LED will illuminate and the microphone will auto-populate in the Digital Microphone Manager software.
If the microphone is not found in the software, verify that the computer and the microphone are on the same subnet. Also, make certain the network discovery settings are enabled on the computer. In your computer settings, navigate to Network and Internet > Network and Sharing Center > Advanced Sharing Settings to turn ON network discovery.

Once the microphone is connected to the software, all of the settings can be accessed and configured. Settings include:
- Device name
- IP settings
- Port configurations
- Inputs/outputs
- Audio settings such as levels and coverage zones
In our final installment of setting up the ATND1061 we will look at the Digital Microphone Manager software and its settings.
For additional information see the product page for the ATND1061 Beamforming Ceiling Array Microphone or contact the Application Engineering Team at 330-686-2600 ext. 2998.


.webp)