Question: How do I install the ATND1061 Beamforming Ceiling Array Microphone?
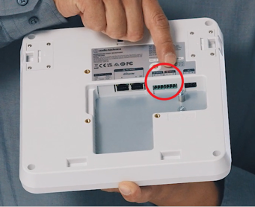
Answer: In the previous question of the week, we explored what is included with the ATND1061 Beamforming Ceiling Array Microphone. In this article, we will look at the process of installing the ATND1061 into your system. The ATND1061 includes analog audio, GPIO, and network connections to fit any installation requirement.
The Euroblock connectors can accept one balanced mic or line level input, and one balanced line level output, the routing and levels of which are controlled in the onboard DSP.
A single Logic In and Out for configurable external muting and LED control is also available.
The customer-facing side of the microphone has a recessed “Reset” button and small IR window to receive a mute signal from the included IR remote.

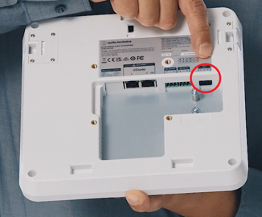
The ATND1061 utilizes Power over Ethernet (PoE) through the A network port. The power can come from a compatible ethernet switch or a PoE power injector.
The microphone’s default setting is to obtain an IP address from a DHCP server. If no IP address is received from the network the microphone will self-assign a private network address. The microphone can be configured with a Static IP address if needed.
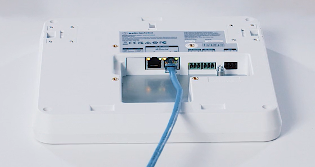
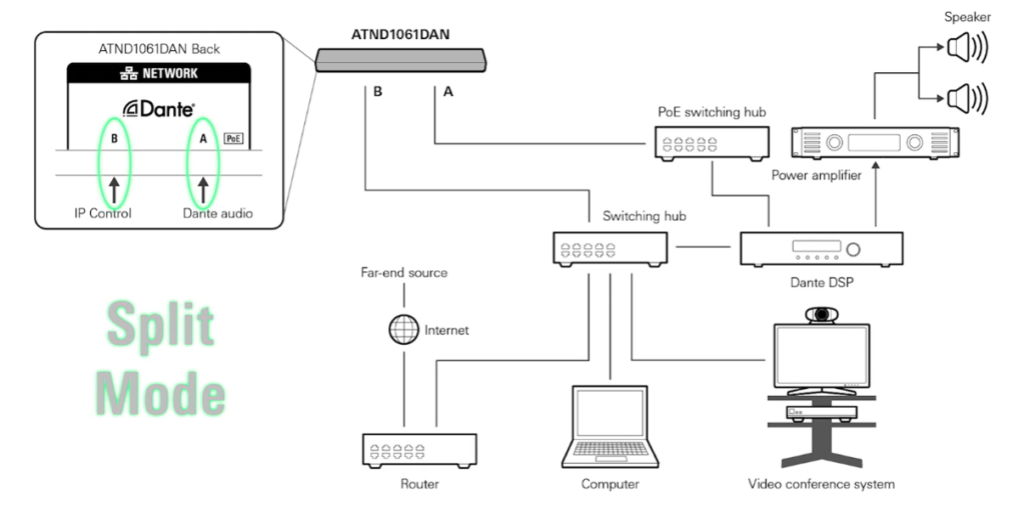
The microphone has two network ports. In “Single Cable Mode,” network audio and microphone control data are sent together over a single standard category cable through the A port.
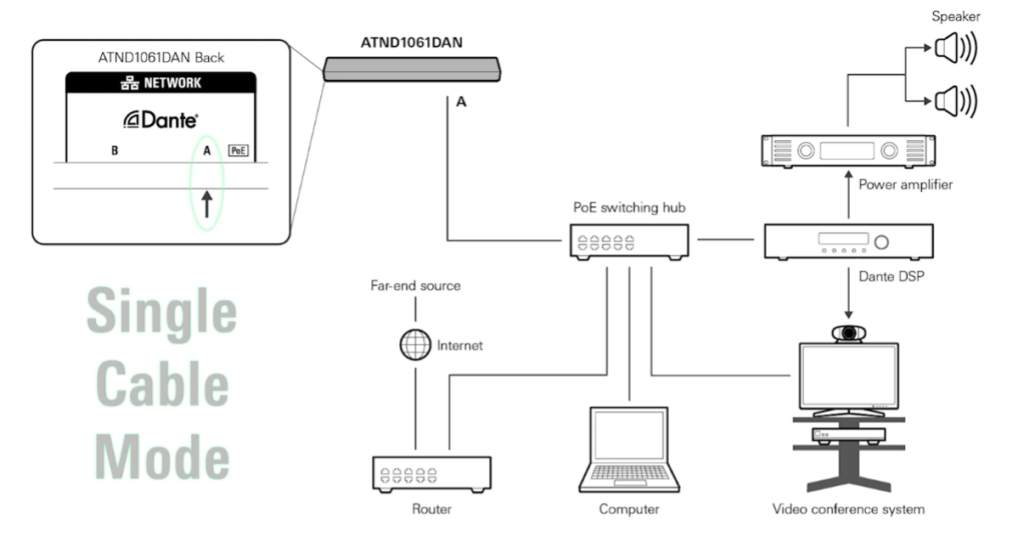
In “Split Mode,” network audio and microphone control data are sent separately over two category cables through the A and B ports.
The ATND1061 features an on-board auto mixer with powerful DSP functions which mixes discrete coverage zones, analog input and additional network audio sources to a single analog or network audio output.

Stay tuned for future Questions of the Week about this product. For additional information see the product page for the ATND1061 Beamforming Ceiling Array Microphone or contact the Application Engineering Team at 330-686-2600 ext. 2998.


.webp)